Wednesday, October 29, 2014

Last night I power washed the porch for the first time in probably 50 years.  Literally.  See how dirty it was?  I thought gray/brown was the actual color and was just hoping to clean it up.


Buuuuuut unfortunately it turns out the floor is super ugly under all that dirt.  Note to self: next time you build a porch determine if you need a new floor first.


When we first moved in the interior floor actually looked like this as well so I probably shouldn't have been surprised.


The good news is that our windows look really shiny and bright!


I'm hoping that I can finish putty'ing and caulking tonight so that tomorrow can be a painting day.  We shall see!

Monday, October 27, 2014

Crowning Achievement

We're getting there!

We had ordered a bunch of brick mould and cove moulding to trim out the edges of the bead board ceiling but it didn't look right and would have been extra work because it required routing out the back.   The more I thought about it classic crown moulding was a better option.  I hated to waste the expensive material we already had but we've already spent so much time and money so it was the right call and saved us a ton of time.


The crown is made of the same PVC material as the rest of the trim.  We used the Kreg Crown Pro tool which I love.  Saves us so much time and money each time.  We were able to get the 2 sides of the shed portion to the sides of the gable done in a couple hours.


The gable portion was much tougher and we have no idea why.  This part took us 3x as long and we ended up wasting a bunch of expensive material.  Ouch.


Finally the underside of the porch is heading into the home stretch.  The only portions left are the trim above the door and the columns wraps...


...oh and filling holes, caulking, sanding and painting until Easter!

Monday, October 20, 2014

Bead Board

We declared last weekend, "get 'er done" weekend.  Goal: No scaffolding by Sunday.

Remember where we started.  Tired...


 ...and not exactly safe.


So we pulled it down and rebuilt the shed portion to the right of the front door...


...and to the left.


Cut out the middle and built a barrel ceiling gable.


Then we ordered about a mile of PVC trim.


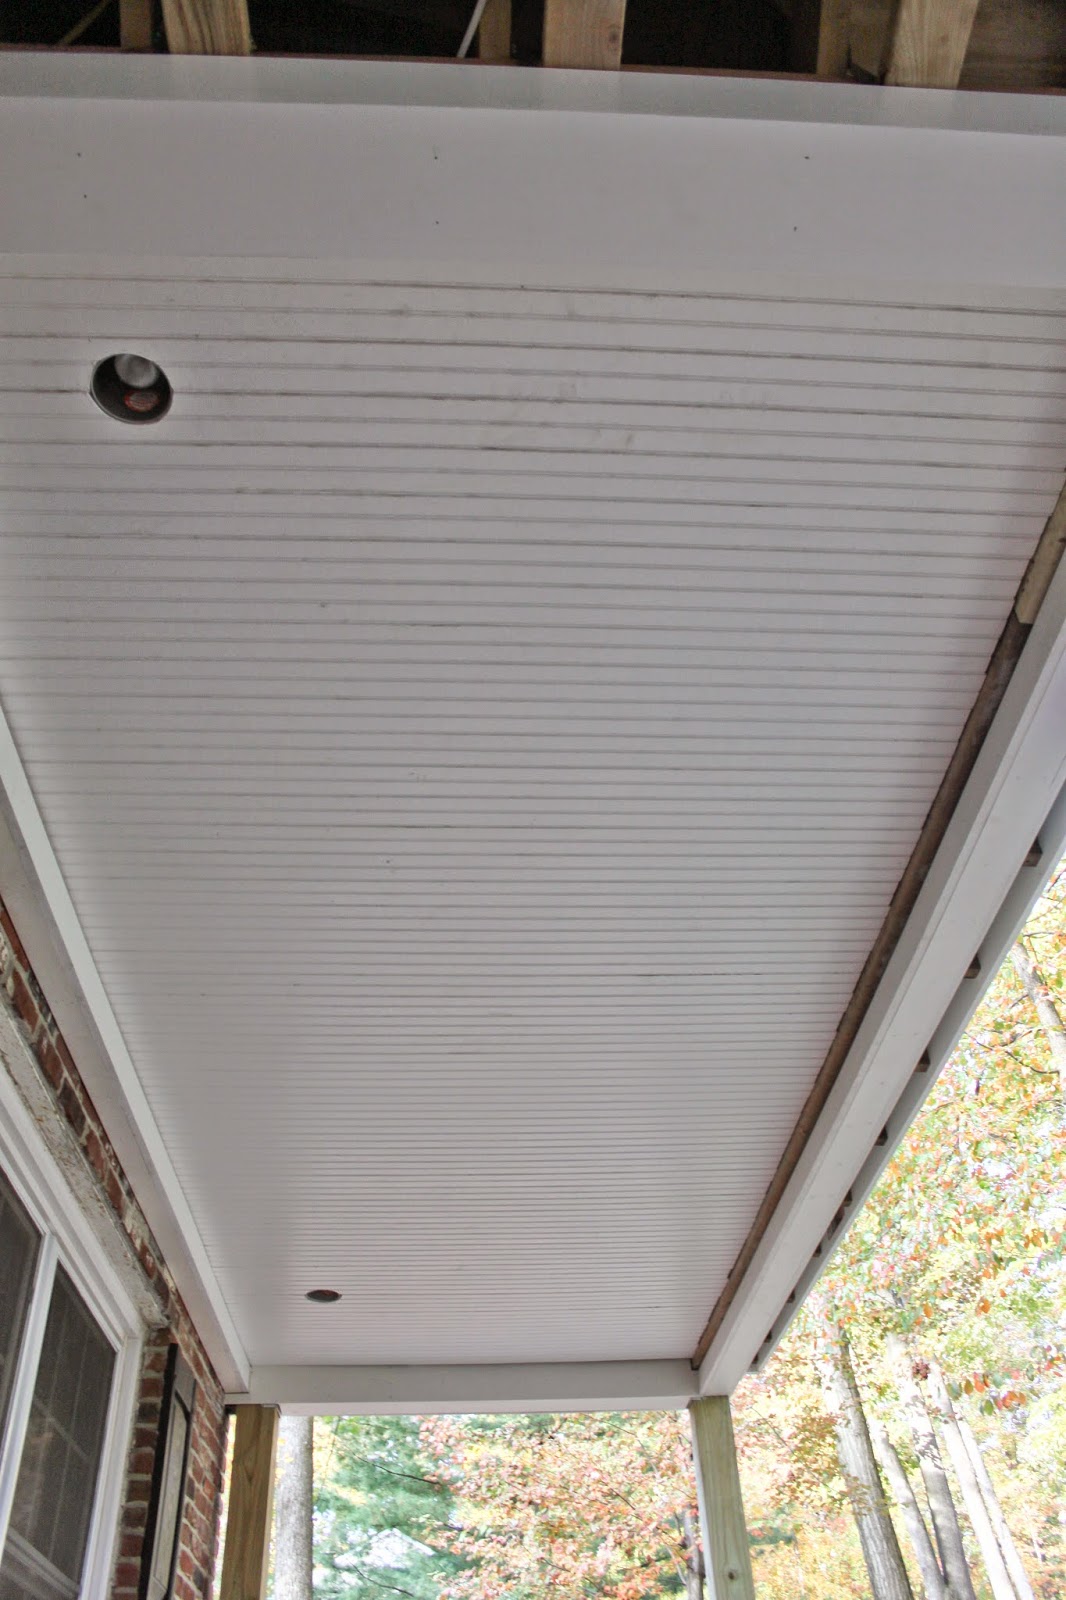
And we slowly nailed up 142 bead board planks.  Literally 142.


Ignore the rough edges and the dirt.  They'll be finished with...something...haven't exactly agreed on what just yet.  Then putty, caulk and paint will make it all look seamless and clean.


To cover the headers that support the gable we got clever and wrapped it with column wraps.


The columns wraps are pre-made and mitered perfectly.  They come with the corners all taped so you apply the glue to the inside, close around your wood supports and then after the glue dries, peel off the tape for a perfect edge.  We could have wrapped it with PVC boards and saved a little money but because it is in such a visually prominent place we wanted the edges perfect.  Success!


Installation on the shed portion of the ceiling flew and was completed in a day but the quick work came to as screeching halt when we had to meet the flat ceiling to the barrel.


We had to cut two planks at odd angels to get both the barrel and the flat ceiling portions to exactly meet. Ours was a tricky 132 degrees and because the saw doesn't cut that angle there was a lot of creative maneuvers.  I won't even try to explain it (because I literally can't - Sean's the math guy).  They couldn't be more than a degree or two off without screwing up the rest of the ceiling.


We cut it (punny) close but we met our goal.  Sunday night and the scaffolding is gone!


Tuesday, October 7, 2014

A Roof Over Our Heads

You'll remember our porch started here.  Fine but the house had a pretty boring roof line with the porch extending directly into the garage.  No opposing angles or interest.


So we did this:


...and then this:


A little of this:


Followed by this: 


Until we got this:


The metal roof is done!  I'm breathing a huge sigh of relief.  I really like how it turned out.  Ignore the ugly asphalt seam.  The original plan was to tooth in the old shingles with the new but it turns out that the old shingles were crumbling as the roofers tried to do so so these shingles will serve as a temporary solution until we can replace the entire roof next year.  My wallet needs a break.


Each step now has a very visual reward which really helps our fried brains.  Next up is the decorative wainscoting that will go in the inlay above the metal base in the triangle, bead board ceiling and miles and miles of trim. 

Monday, October 6, 2014

Raise the Roof

Finally after 5 weeks of waiting the roofers began installing our custom standing seam, black metal roof!  I've been sweating bullets since I first handed over the deposit check wondering how it would look, hoping it didn't look like a strange add on.

Thankfully I love how it is looking.  They still need to add the ridge cap, install the inlay (on that plywood section in the base of the triangle) and then patch in the shingles but so far I'm loving it.  Ignore the fact that the lawn is severely neglected, the gutters are a joke and basically everything is a mess.  Squint your eyes and focus on the pretty metal.  


You'll notice we also started the trim work.  We spent at least a month measuring, re-measuring, coming up with a supply list (so many different sizes needed) and then price shopping this trim so I was relieved when a massive shipment of PVC trim was delivered last week.  We decided to go with the much more expensive PVC option because I like to spend money once this sucker is finally done we have no interest in ever redoing it or repairing rotting wood.  


The trim looks pretty rough right now but once all the pieces are layered and the trim cap pieces are installed it'll look seamless (I hope anyway). 


We covered all the headers.


...and cut the large sheets for each of the 3 inlays (semi-circle above the door, triangle above the exterior gable and the semi circle on the other side of the gable).  These were expensive sheets and I was pretty sure we'd be buying more with at least one bad cut but it looks like we managed to not screw them up. 


We still have miles and miles of trim to install but at least now everything we do will have a visual reward.  Does anyone know how to fill seams on PVC for the exterior (I'm painting it)?  Nail holes I'm good with but I can't figure out the seams...

Thursday, October 2, 2014

Roofing

Look what started today!  I'm really nervous about the metal roof.  I've never seen a metal roof that dives into asphalt shingles. I am not an architect or a designer by any means.  What was I thinking going with something so permanent and so public!  Ahhhh!!!!