Tuesday, April 9, 2013

DIY Wainscot

I stumbled across the blog post at "Calling It Home" and it lit a fire to tackle the woodwork (or lack there of) in our living room make-over.  The blog is amazing.

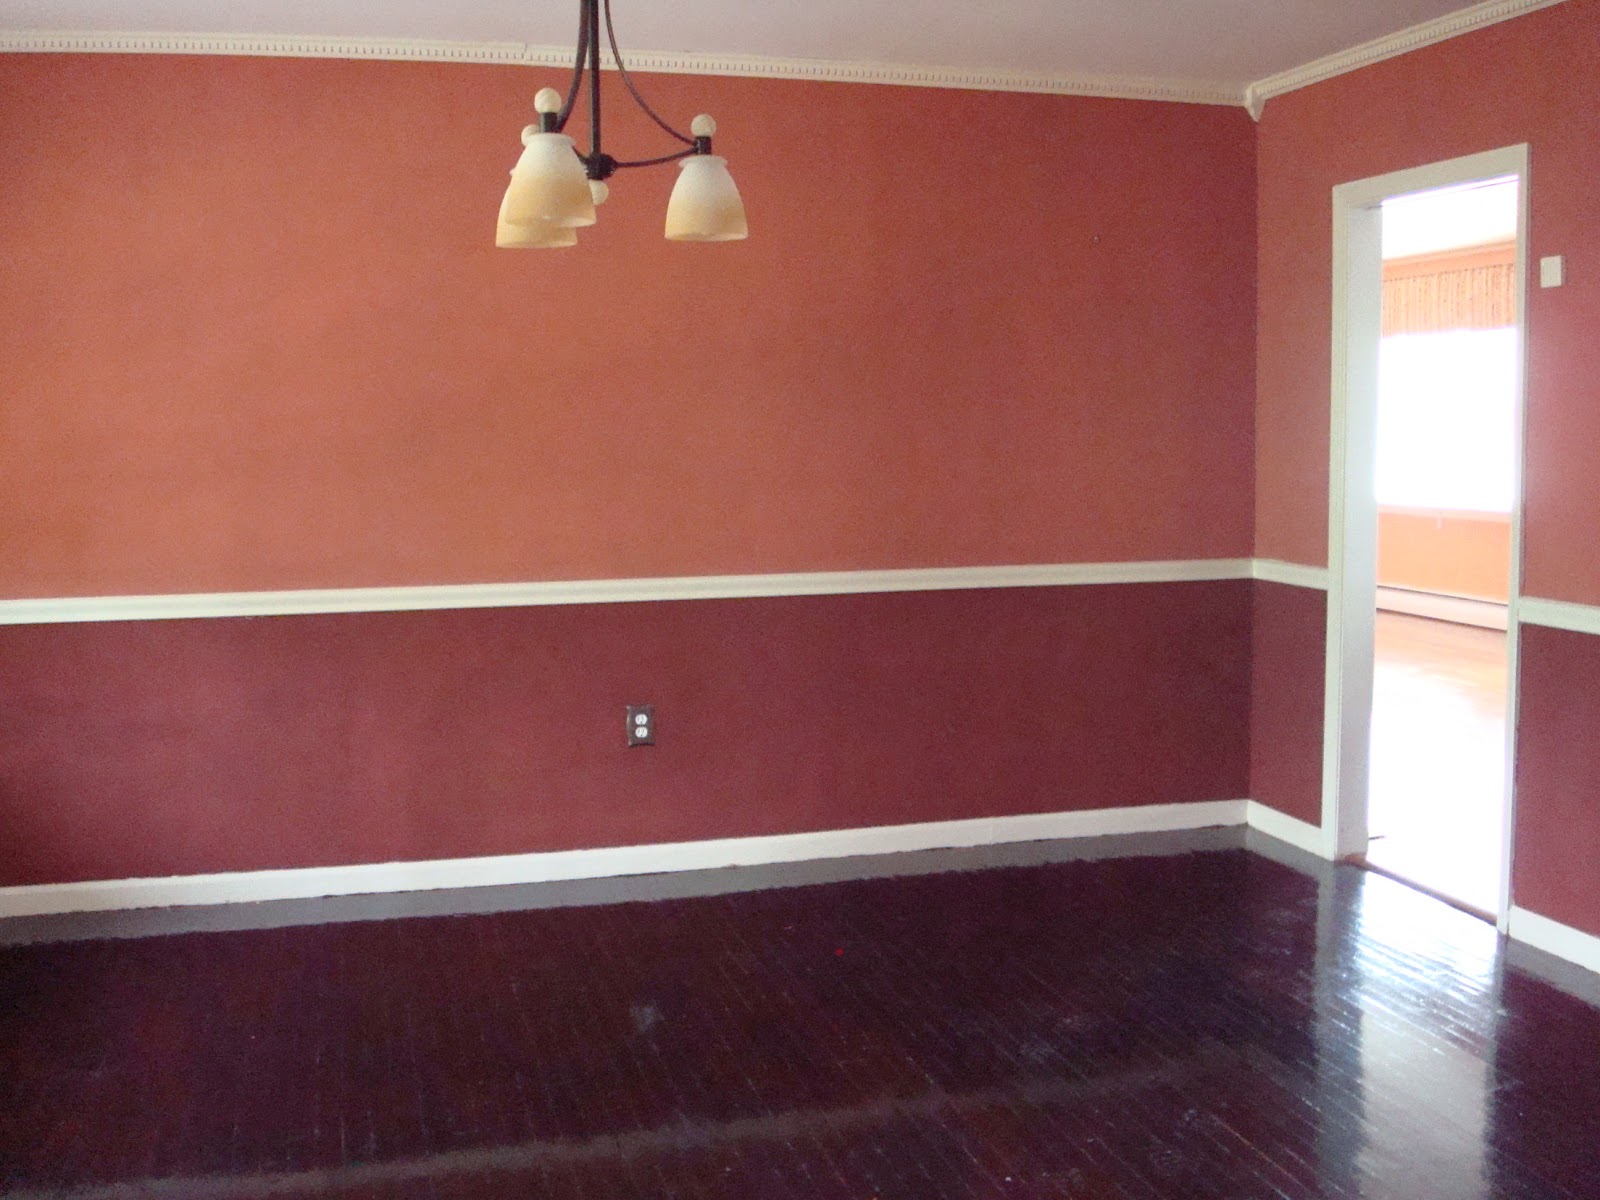
So if you remember the room currently looks like this:

Our goal is to make this...


...look like this...


...and this...


...look like this.


If that section of wall and door header turns out according to plan then we'll carry it throughout the rest of the room.  The first step was to take measurements, draw the plan on the wall and buy the materials. If you look closely you'll see what our wall specs are going to be.  For the most part we followed the specs at Calling It Home but made minor adjustments to meet the scale of our room size and 8' ceilings. Her post is amazing and has some of the most helpful and detailed specs of any site I've seen.  We're using MDF with a 3.5" reveal and chair rail topped with an L Cap.


Photo bombed by a 3 year old straight from hockey practice :)


Sunday, April 7, 2013

While we're at it...

Why tackle one large project when you can do two?  Operation Dining room started this week and we figured it was as good as a time as any to redo our living too.  So while I stress that the seamstress will take too much off the drapes wait for the dining room drapes to be ready we decided to take on a pretty major project in our living room.


This is our living room before.  A nice shell but the windows were so rotted and full of carpenter ants I almost put the house up for sale the day I walked in to find hundreds of carpenter ants flying around the room and my then 1 year old attempting to eat one.


We replaced the windows, put up the drapes from our 1st home (like our dining room not a perfect fit scale wise but has been good enough), replaced the detail molding with something a bit simpler and scale appropriate, and painted the room Behr's Gray Ghost.  The piano was given to us by our extremely generous life-long friends and neighbors.  Sean is currently working on a woodworking project while taking breaks to teach himself to play Hakuna Matada on the piano for the boys.  #sorryladieshestaken. Then it became a dumping ground for all of our mismatched furniture.


That got us to "good enough" to get us through the past 5 years.  The room is fine.
My issues with it are:


1) Too dark (the only time the room gets light is between 3-4 PM) - need to find a way to brighten it up (windows?  furniture/fixtures? lighting?).
2) The furniture is a bit too large for the room.

3) A furniture placement I can't figure out.  I've tried almost everything.  Anyone have any ideas?

5) Not much architectural interest.  The doorway for example needs something.


Oh and we have no idea what that stain is in front of the doorway.  I'm thinking either:

-a very strange place to put a potted plant and end up with water damage from overwatering?
-a sanding accident from floor refinishing?
-cult worship?

Eventually the floors will be replaced and refinished to a less orange color but for now we no longer see it.


Our first plan of attack is to put up some wood paneled wainscot around the room.  Hopefully that will solve problems 1 and 5.  This will definitely require a lot of fraction skills, patience and babysitter hours.  

Things I don't have a lot of lately...

Friday, April 5, 2013

Operation Dining Room

When we moved in this is what our dining room looked like.    The dining room opens up into our kitchen so we knocked out the adjoining wall during our kitchen renovation and installed pass through glass-doored cabinetry.


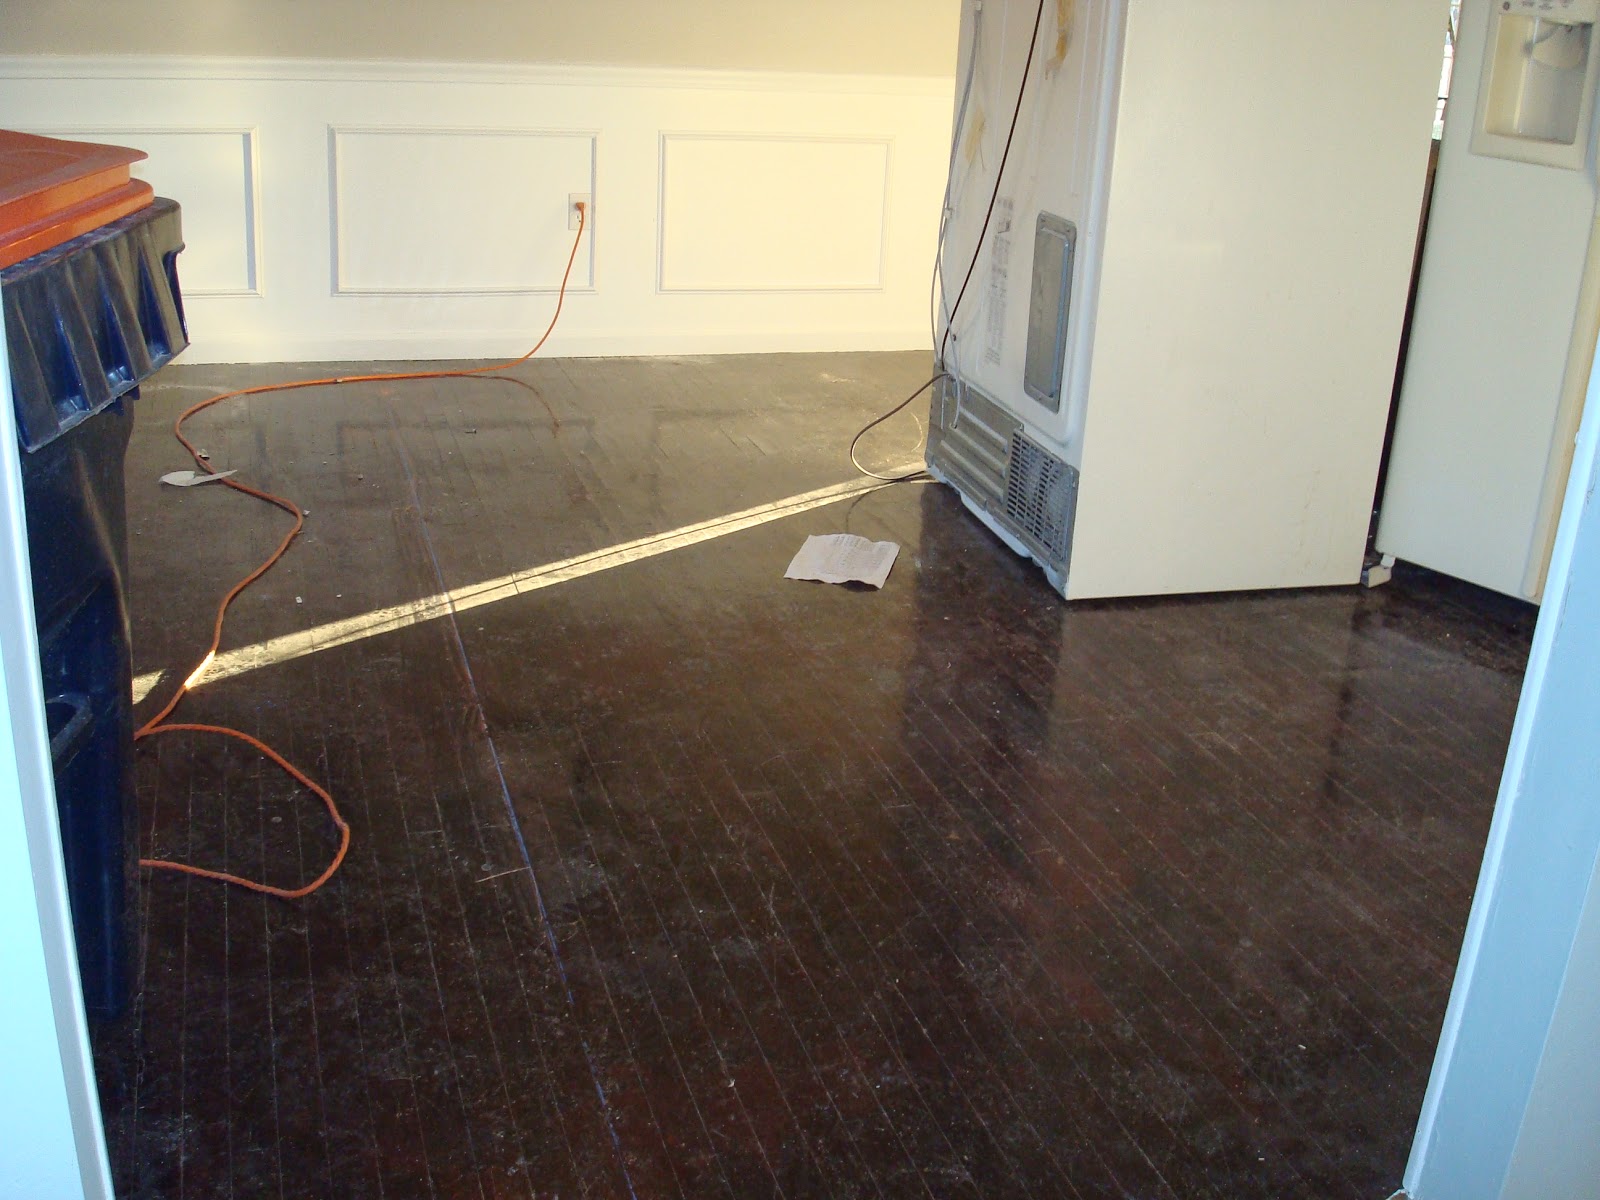
Our very first project in the house was to sand down the textured glitter walls, install a wood wainscot treatment and paint the walls gray.  Then during the kitchen renovation we replaced the badly damaged floors and the crown molding to match the rest of the house.  A few months later the windows were swapped out (in the dead of winter of course).


My parents gave us their dining room furniture and we put up the drapes that we had in our prior home that had much smaller windows.  I fell in love with the Chandelier from Restoration Hardware but didn't love the price.  After a quick search on eBay I found it, brand new, in the box for 1/2 the price.  Seriously if you're ever eyeing anything do a quick search of the store name and item at eBay and chances are you can find it brand new at a fraction of the price.  

Everything else in the room was "temporary."


Fast forward 5 years and we're still looking at the same room.  It is a very dark room.  No natural light at any point during the day and too stuffy for our taste.

The first problem to tackle is to replace the way too small curtain rod, get brighter, fresher drapes and hang them floor to ceiling and cover as much of the wall space to the sides of the windows as possible.

I think the reason I've been dragging my feet on new drapes is 1) budget and 2) guilt.  For some reason I felt guilty taking down 'perfectly good' drapes that weren't cheap from Restoration Hardware.  It is time for me to get over that.  Life is too short to live with things you don't love.  Out with the old and stuffy and in with the fresh and bright.

Now what to replace it with...This is a tissue box on my desk at work.  I like the gray and green accents and the fluidity of the pattern.  If only I could find something with that feel...


Enter West Elm.  Not only did they have an almost identical pattern but I couldn't believe the price.  $44 for a 96" panel.  At that price I decided could afford to buy the 96" and get them hemmed to 91" to hang them floor to ceiling in my 8' ceiling room.  I bought 4 panels to double up on each side of the window so that the scale of the drapes matched the scale of the window.


So now I wait for the drapes to come back from the seamstress and
the new, beefier curtain rod to be delivered. 
My husband laughs each time I mention the words beefier and rod.


So that is step 1 in Operation Dining Room Makeover.

Next up, accessorize and maybe attempt to reupholster the dining room chairs myself.  That's a DIY project I've never attempted.  I also need to figure out a way to incorporate some color into the muted room.  I'll keep you posted!

Saturday, March 16, 2013

Cars Birthday Party

I mentioned to you last week that we just celebrated our middle child, Brady's, birthday last weekend.  He requested a Cars birthday party.  What middle-child wants, middle-child gets.

I attempted Tow Mater cupcakes.  That quickly turned into cupcake, singular, after I learned how labor intensive they were.  I used 1 regular sized cupcake for the main body, a mini cupcake for the cab (head) and a regular sized cupcake with the top cut off for the bed of the truck.  I covered all 3 in chocolate frosting (microwaved to make it easier to work with).  I piped white frosting on the head (in a ziplock bag w/ the corner cut off) for the windshield, topped with green M&M's for eyes, white M&M's for the headlights, chicklets for the teeth and mini cookies (Keebler Fudge Shoppe Grasshopper Cookies (100 Calorie Right Bites) for the tires and engine.  


I made him a birthday banner.  I created a sheet of black squares on a PowerPoint slide using the 'insert shape' feature.  Then I added in the letters, cut in the shape of a triangle and strung together on black and white checked ribbon.  After the party, the night before his actual birthday, I moved this banner to his door.  I decorated his door with streamers and the banner for a special morning surprise on the big day.


I found these really great, free, printables at http://www.sowonderfulsomarvelous.com/2010/04/disney-cars-birthday-party.html.  I used the Ramone's House of Body Art sign on a table with temporary tattoos and wooden cars that the kids painted.


The Fillmore's Organic Fuel sign was used on the iced tea:


The great thing about this theme is that going through the boys' toy box there is no shortage of toys to be used as decoration.  I topped the juice boxes with Mater and McQueen figurines.


Another free decoration idea.  I found pictures of some of the Cars characters in a magazine ad for Disney World.  I cut them out and taped them to the picture frames on the walls.  Bam, free.


For the dessert I served black & white treats.  Half moon cookies, chocolate donuts (tires) and cupcakes that looked like a road (chocolate frosting, chocolate sprinkles and white piped frosting as lines).  The cupcakes were my plan B after deciding to only do 1 Mater cupcake.


I lined our kitchen island with a black mat with white lines to look like a road (more of the Cars figurines added in for decoration).  


I also laid out a Cars rug and a basket of matchbox cars for the kids to play with.  Love me some free activities/decorations.


The birthday boy in the Tow Mater hats I found at Oriental Trading.  He slept in it that night :)


Brady was 'happier than a tornado in a trailer park!'


Friday, March 15, 2013

Blog-iversary

So I just realized that today is the 1 year anniversary of our little blog. 

I'm pretty sure my mom is the only one reading it (thanks for the 25K hits mom!) but it sure has been a nice place to document the various projects and milestones we've tackled in the past year, even if it is just for me.  So today I shall celebrate by thawing a frozen dinner, brushing 4 sets of teeth (hoping one of those sets are mine) and bathing 3 kids...oh wait, that's how I celebrate every day :)

Thursday, March 14, 2013

Mini Gallery Wall

After repainting the boys' bathroom a 'real color' (not a neutral) it needed some breaking up with some art.  I'm into the mismatched look lately.  I discovered Target's Threshold collection and am pretty sure I could marry everything in it.  The polygamist in me couldn't decide and came home with 3.  Sister Wives of the frame world if you will.

One natural wood, one bamboo and one green chevron frame.  I used 3M's velcro strips (my new favorite discovery) to mount them.  I'm not sure how they'll do in a humid bathroom so we'll see.


So there you have it.  Not all changes in this house involve demolition :)

Sunday, March 3, 2013

Wild Sage

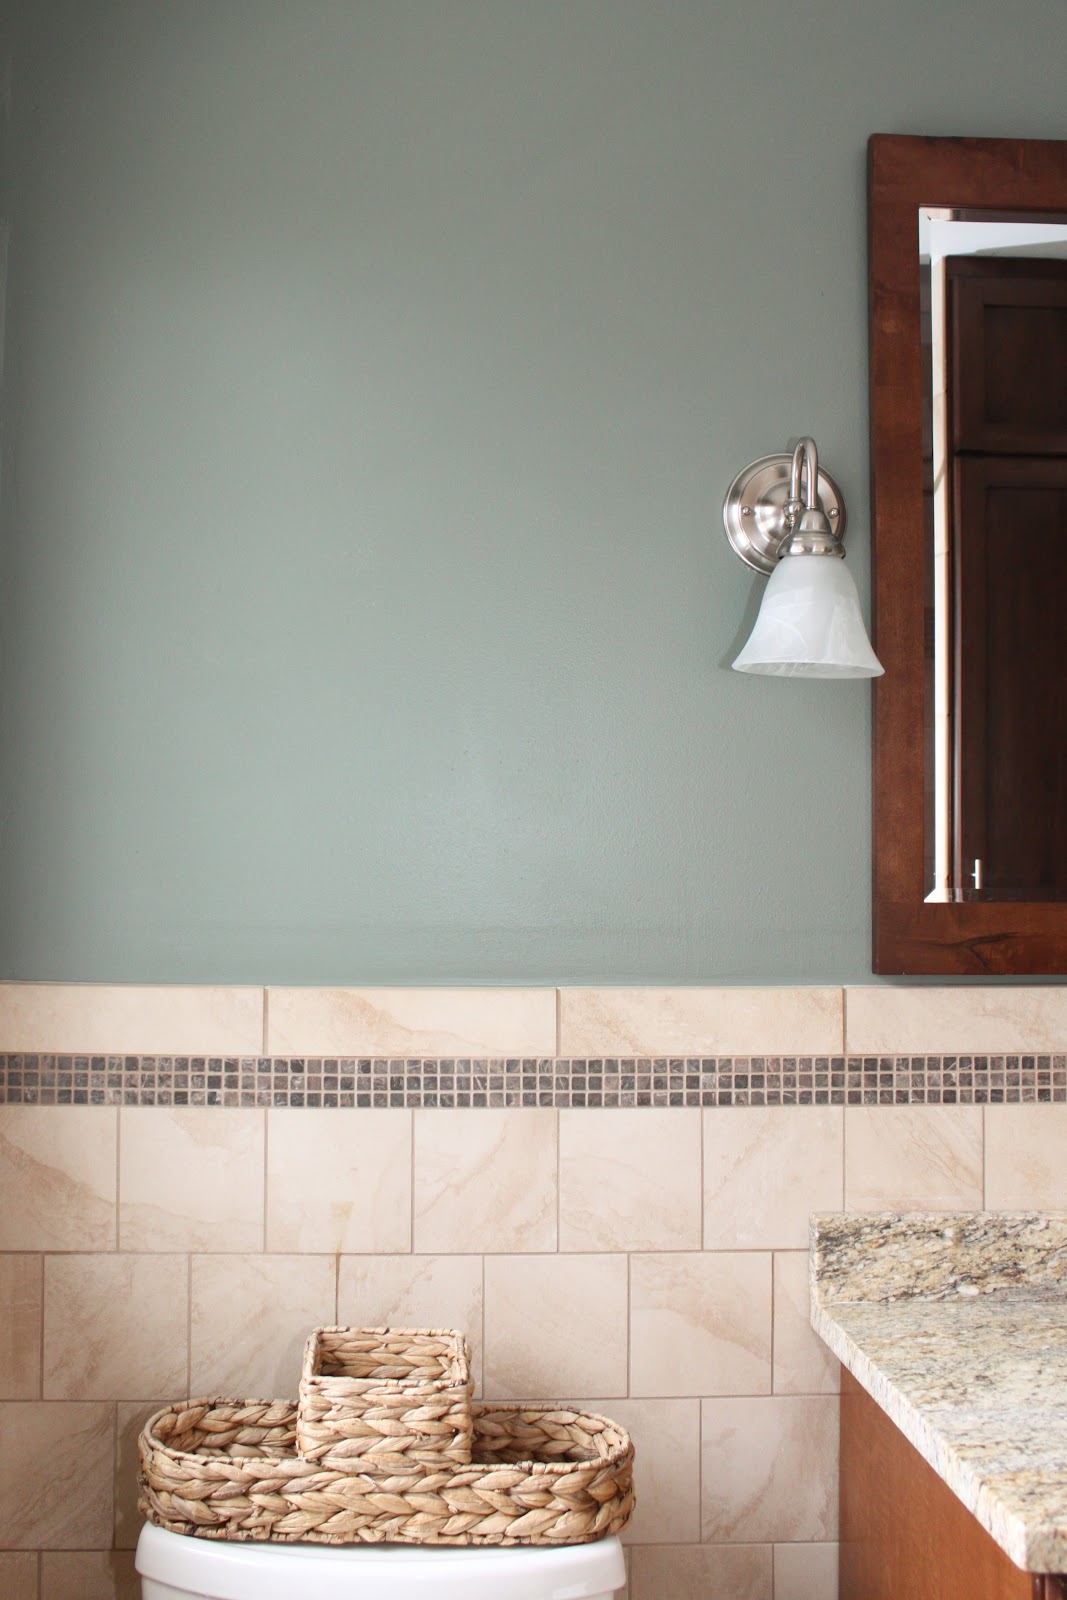
Wild Sage, will you accept this rose?  Last weekend I told you I was jonesing* to repaint my bathroom.      Last night I got 'er done.  Not a lot of wall space but it was a dark color so it needed 3 coats.  I present to you, Wild Sage (which I think could either be the name of a laundry detergent, a stripper or an awesome green paint color).


My plan for this section of wall is a gallery of mismatched frames.  I decided to use 3M velcro strips rather than put more holes in the wall because I've heard they're easier to hang and adjust.  I have to wait 7 days after fresh paint before I can hang them so I'm going to be patient.  Ok so maybe the truth is I said 'screw the 7 day wait' and attempted to put them up 15 hours after I painted the room and they crashed to the ground, somehow not breaking...so now I wait the 7 days.


*Fun fact I just googled what 'jonesing' meant because it is a word my mom uses often.  Turns out it originated from heroin addicts in "Jones Alley" NYC in the 60's wanting a hit.  Geez mom.