Monday, January 6, 2014

DIY Upholstered Headboard

Baby boy isn't interested in leaving baby jail his crib just yet which is fine with us but I'm getting his big boy ready for him for when he is.  

The goal = upholstered headboard that attaches to the existing frame.  I've made upholstered headboards in the past that hang on the wall but I don't love that installation method because when leaning up against the wall to read to them at night the bed frame pushes away from the wall.  The Internet is full of tutorials on upholstered headboards but not a lot on versions with legs that attach to the frame so I'll show you how I did it. 

Materials:
- x2 2x4's
- Stain
- Wood conditioner
- Poly protective coat.
- Plywood or MDF (or really any flat piece of wood...I've used an existing headboard and a door for  past projects and they worked out fine).
- Fabric (I chose a solid navy duck cloth)
- Batting
- Foam or egg crate (I used Nu Foam - a mat of polyester fill, a urethane free substitute for regular green upholstery foam.  Either will work)

Step 1: Stain the bottom portion of the legs that will be visible.  Apply the conditioner (to ensure an even finish) and wait 15 minutes for it to soak in.  If I didn't already have any on hand I probably would have skipped this step.  Apply as many coats of stain as you need to get the color you desire.  I only did one coat.  It is for under a bed, let's not get crazy.  I sealed with with a coat of SafeCoat Poly.

Step 2: After the legs dry you'll need to attach them to your plywood or MDF.  This part was a little confusing to me because I wanted to ensure the bottom raw edge of the plywood was covered but also wanted to wrap the entire unstained portion of the 2x4's with fabric.  First I laid down a clean sheet to protect the fabric.  Then I laid the fabric down flat and the plywood/MDF on top of that.  I folded the bottom portion of the fabric up over the MDF/Plywood.  Then I laid the legs on top of the fabric.  I measured the distance I'd need the 2x4's to be by measuring the bed frame width.  The 2x4's were then placed and attached using screws big enough to grab both the 2x4 but not so big that it would come through the other side.
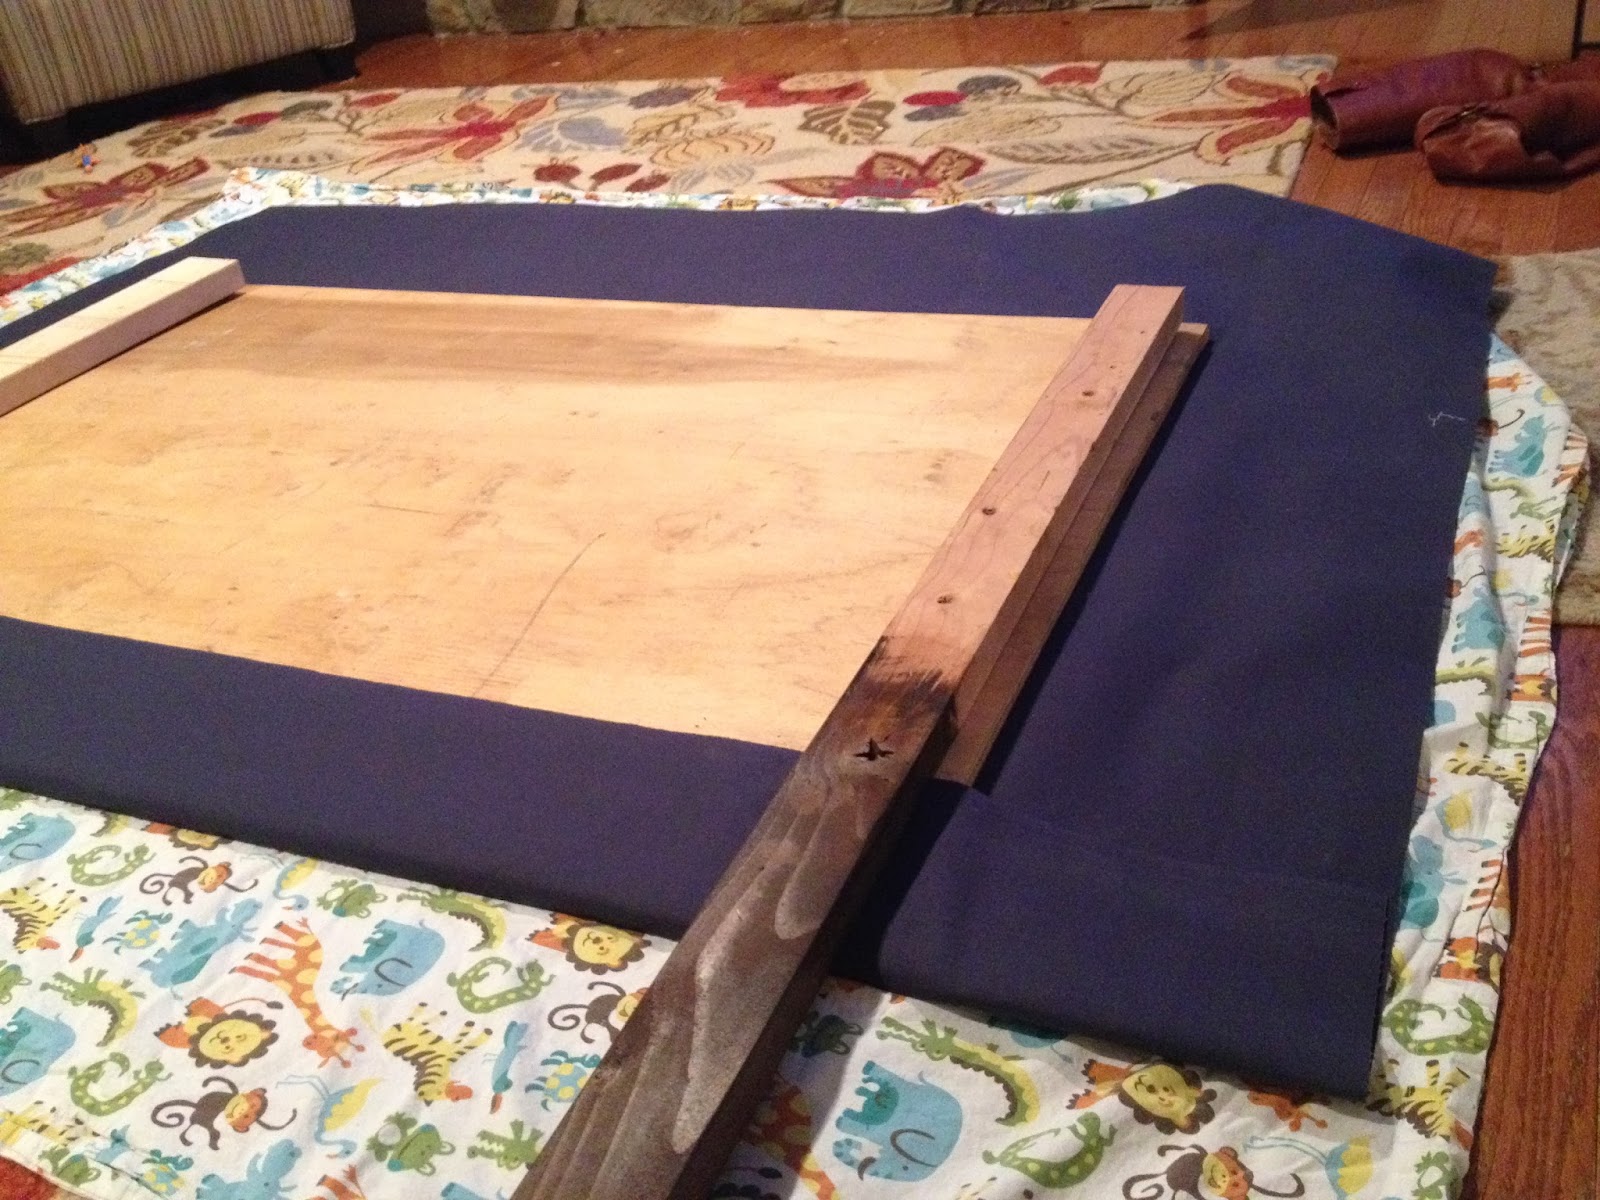


Step 3: Now that the legs are attached and the bottom raw edge of the plywood/MDF is covered it is time to upholster.  

  • Leaving the fabric on the floor flip the plywood/MDF part of the bed back over so they're separate. 
  • Lay the batting down on the fabric, then lay the foam/fill over the batting.  
  • Flip the plywood/MDF back over so that it is laying on top of the batting and foam.  
  • Pulling as tight as you can staple the foam and batting to the back of the bed.  
  • Once that is all secured pull the fabric over the foam and batting and staple that to the back.  I made sure that the fabric covered the 2x4's entirely so that nothing was exposed at a side angle.  
Following these directions I was able to ensure the 2x4's were completely covered from side angles.


This shot shows the legs that the frame will attach to.  It isn't yet attached because we're currently shopping for wall to wall carpet and would have to detach it in a few weeks anyway but it'll attach with some screws.


And let's hear it for the $1.50 shams I found at Ikea!


That's it!  I may add some bronze nail heads but I'm worried about my ability to install them straight.  What do you think?  Nail heads or leave well enough alone?

Saturday, January 4, 2014

Anthropologie Hack - DIY Zinc Letters


I'm still working on the wall art in the baby boy's room transformation.  He's currently learning his letters and loves pointing out the letters in his name which gave me the idea to use his name in the art.  I love the zinc letters at Antropologie but the $18/letter price tag is a bit silly.  His name is short at 4 letters but $72 is too rich for my blood.

I picked up the 4 letters from Hobby Lobby and a bottle of black craft paint and silver metallic craft paint.  I didn't totally know what I was doing but @ $12 it was worth the risk of it bombing.


Step 1: Paint the fronts and sides of the letters black.


Step 2: After the black paint dries (I waited a half hour) paint over the black with a thin coat of silver metallic paint. While the paint is still wet dab the letters with a cloth to remove paint in some sections and let the black show through.  This gives it the galvanized look.  Work in small sections so that you can wipe it off before it dries.


I think the whole process took me a half hour max.  I'm pretty happy with how they turned out!  I'll mount them with 3M velcro strips once the paint dries completely.


$12 beats $72 any day (I'm an accountant in real life so I can do fancy math like that) and because they're cardboard they're much easier to hang than the real thing!

Tuesday, December 31, 2013

Big Boy Room Paint

Baby boy's room is painted!  I went with the tried and true Benjamin Moore Revere Pewter that we used in our Master Bedroom.  A quick reminder of the mustard color we started with:


...and just a peak into the new color!


I'm working on a headboard so once that's done I'll post the final pics of the finished product.


Happy New Year!!!

Monday, December 30, 2013

Hamper Detour

We tend to work on multiple projects at a time so that's how I'll share them with you.  Probably feels scatterbrained to read but that's how it feels on this end.

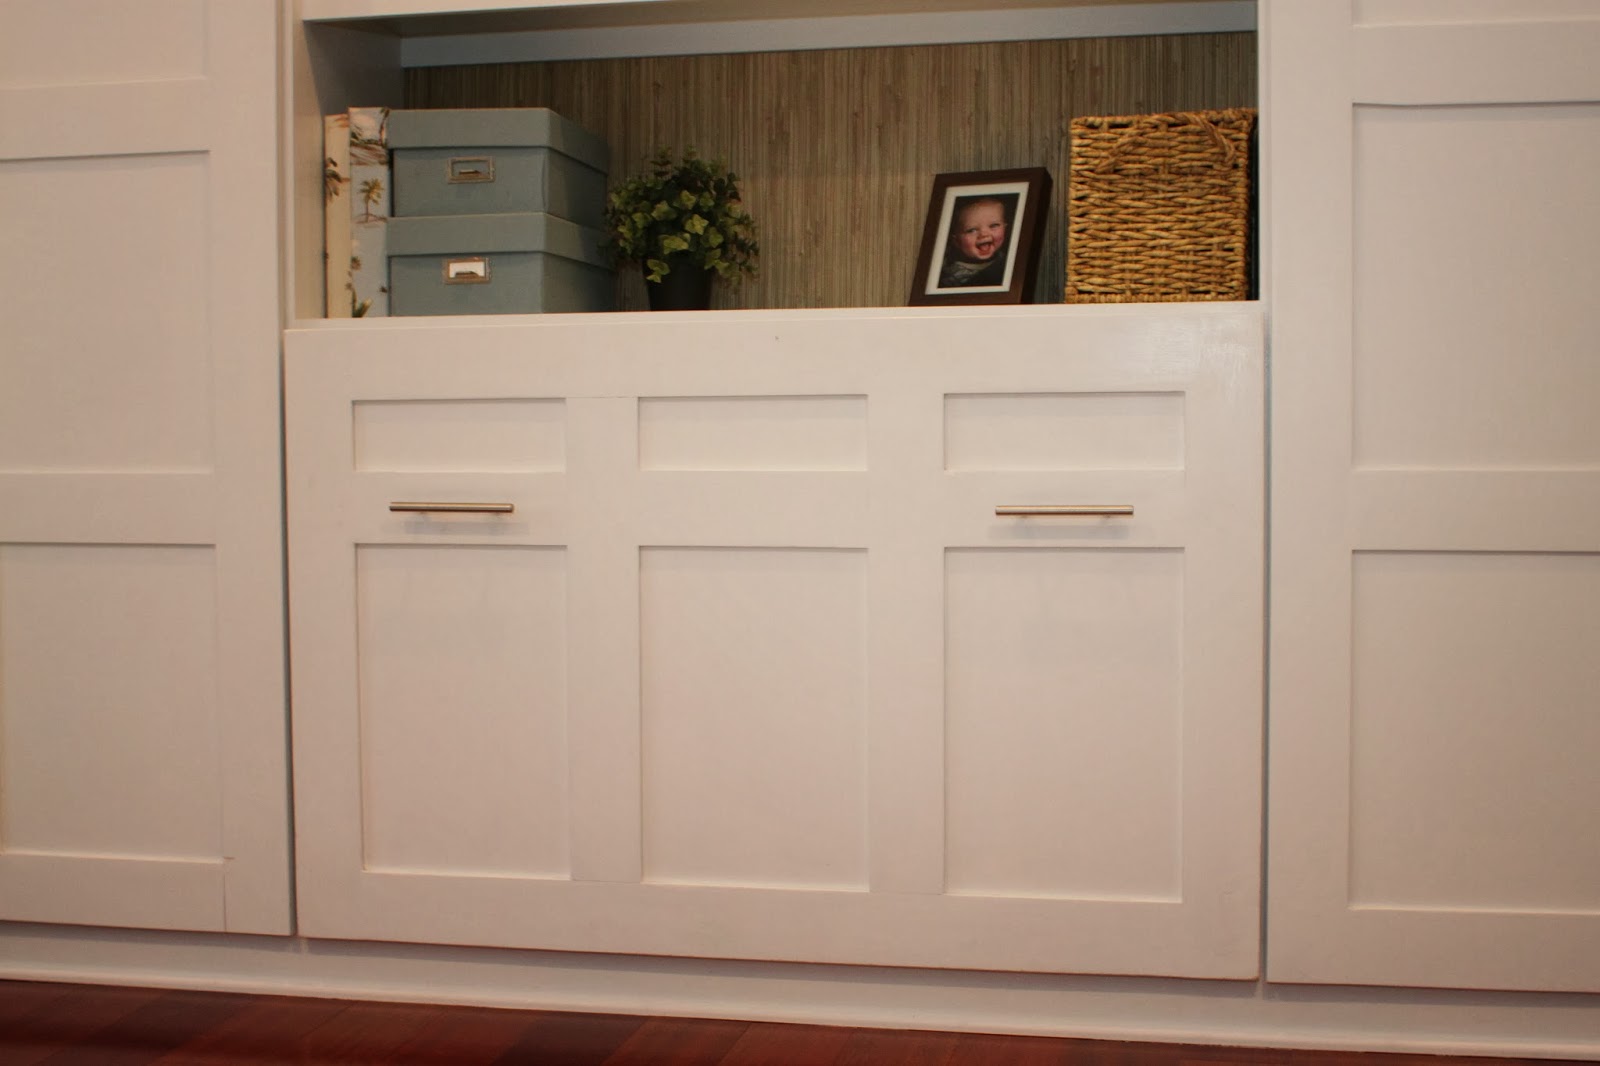
We spent last New Year's Eve building our Ikea Pax hack closet doors so it is only fitting that I share with you the last step in that process this New Year's Eve Eve.  My favorite part of this hack was the hamper drawer.  We added a drawer front to give it a cohesive look with the doors:


You can find the steps we used to build the face here.  We backed into the drawer face design by lining up the horizontal pieces from the doors.


So there you have it!  Pretty storage :)

Sunday, December 22, 2013

Big Boy Room

Here is what I'm currently thinking.  I'm leaning toward the same Benjamin Moore Revere Pewter that I used in the master bedroom.  I'm using the existing drapes and then adding some nightstands and art from Overstock, lamps from Ikea and bedding from Pottery Barn Kids.

Evan's Room

Before I can get started though I have to do all the prep work.  Paint the window trim that I've put of painting for 4 years since the windows were replaced, repaint the baseboards and doors, fix nail pops, touch up spackle, etc.  For the trim and doors I'm going with Benjamin Moore's Decorator White.  It is a very dark room so the brighter I can make the paint the better.  While I'm at it I'll also swap out the 50 year old brass doorknobs with brushed silver to match the rest of the house and replace the outlet covers with crisp new ones.

...and we're off!

Thursday, December 19, 2013

The Before...

By the time baby boy #3 blessed us with his presence we were already full-time working parents to a 1 year old and a 2 year old and renovating our home.  We were stretched thin.  We set up his crib and called the nursery decorated.  It was a loose interpretation.  I love interior design but I've never really been one for nurseries.  They're babies for such short periods of time so I figured I'd just wait and design their rooms when they were a bit older.  So here we are.


The first things I'll tackle are to freshen up the room with new trim & door paint, swap out the brass door knob and outlet covers and then paint.  You can't tell here but the hardwood floors are in rough shape and cannot be refinished so we're considering installing wall to wall carpet.  We're hardwood floor people but we're hoping that carpet can create some noise insulation and make the bedrooms cozier.  Maybe we'll revisit hardwoods down the road. 

Monday, December 16, 2013

Little Boy Room

Having three boys in under three years has meant that we have been immersed in baby boys for the past 5 1/2 years.  We've been swimming in diapers, given over 4,300 baths, fed over 5,000 bottles and read Goodnight Moon at least two thousand times.  We made it through, oftentimes bleary eyed, by putting one foot in front of the other.  Then all of a sudden we looked up and our 'baby' was a 'kid.'

This "baby" is a spunky little guy.  When I was pregnant with him and watched the close bond the older two had I worried he would be left out.  Now I know that is impossible.  His big personality would never let that happen.  He's a 2 year old that thinks he's a 5 year old.  He squeezed himself tight into that boy pack and those three are now thick as thieves.  They are so lucky to have each other.  I am so lucky to have them. 

He is 2 1/2 and while he has no interest in leaving his big boy bed behind just yet (nor do I) I thought I'd give his room some thought in anticipation of the transition.  I'm going for a look that will grow with him.  Neutral walls, classic bedding and nothing too 'cute.'  Here are some rooms I love.

What's not to love here?  The woodwork, the lighting, the color scheme, the lighting.  The table in between the beds is just asking to be a diving board though.


The headboard, the lighting.
 

I thought about them sharing a room for about 5 minutes.  Then I realized that would be complete insanity and their constant puppy piles would extend into the late nights and early mornings.  No thank you.  Moving on.  Like the style though.


I'd like to incorporate a map somehow in the room.  I like the interesting placement in this one.