Thursday, February 27, 2014

Etsy Art

We live in a pretty cool world where I can bust open a browser and in a few clicks order some pretty cool art from across the globe.

I was originally planning on adding a ledge to the top of the wainscotting and lean picture frames against the wall from them but considering the ledge would be 60" off the ground and I am 60" off the ground this would most likely result in me hitting my head a lot.

To save my head I'm going to bag the ledge (for now...can be added later when I shoot up another 6" to my supermodel height) and instead go with art.  I found these awesome posters from Posterinspired at Etsy.  I like that they're still "kid" but not in your face themey. 
Posterinspired
Bam.  In 3-5 days I'll have awesome art from Malaysia that didn't break the bank.  Pretty cool world.

Monday, February 24, 2014

Not Our Finest Hour (or 6)

Most days I love my home.  Then there are the other days.  Like the time we found hundreds of carpenter ants flying (ants fly? why yes they do) around my living room thanks to a rotted window.  Or that time our dishwasher leaked and we attempted to fix it ourselves.  Or all of last weekend.

Rewind.  Remember when I told you we were having issues with frozen pipes?  Pipes froze, we thawed the pipes and then reinsulated the crawl space.  We placed a cup of water in the crawl space to let us know if the room ever got below freezing again.  The canary if you will.

Well last Tuesday, another frigid day, I came home to find the water trickeling out of our shower head, just like it had done when our pipes froze.  Ugh, not again.  Weird that the cup of water never froze.  We shut off the water supply to that bathroom and figured we'd tackle it over the weekend.  The weekend came and along with it two 60 degree days.  Still nothing but a trickle.

We ripped up the floor boards and the drywall in the crawl space again.  We sat in the crawl space with a space heater on full blast, holding a hair dryer agains pipes that we wrapped in rags dipped in boiling water.  The room was a sauna.  Still nothing but a trickle.


It didn't make sense, the pipes could not still be frozen.  It must be the mixer in the shower head fixture.  Sean couldn't get the handle off so he literally drilled it off the wall.  I ran to Home Depot, got another fixture.  $220 later and a new fixture was on the wall.  Still nothing but a trickle.


It just didn't make sense.  We just replaced the fixture and it couldn't possibly be frozen.

Because it wasn't.

The last person in the room was a cleaning crew on Monday.  They accidentall flipped the valve in the shower head that controls the speed of the water coming out of the head and it was stuck in between settings.  One flip of the switch and the water came gushing out.

That moment when you realize you just wasted 6 hours of your life sitting in a sauna of a crawl space.  The upside is that if my marriage could survive that it could survive anything.

We piled the kids in the car and went out for pizza at a place that didn't serve alcohol.  I smuggeled it in my purse.  Don't judge me.


Moral of the story: Trust your gut and think it through. 

Some day we'll laugh about it.  Not today.  Probably not tomorrow.

Wednesday, February 19, 2014

Go Biscuit or Go Home

After we put the kids to bed we fired up the table saw to begin the wainscoting.  Step one is a big one even though it doesn't look like there is much progress.

Hold please while I back this train up.  Wainscoting is a wooden wall treatment consisting of rails (the horizontal planks that run around the room) and stiles (the vertical slats).  You can get fancy and layer these two components with various trim pieces.  I think our living room had 14 separate pieces of various wood trim pieces per box.  We're going for a much simpler and casual look for Brady's room and just using the rails and stiles (without layering in decorative trim pieces).

One of the hardest parts about wainscoting is ensuring that each stile is exactly the same height.  1/8 of an inch variance will make a huge difference.  We bought 8' boards and wanted to get 2 stiles out of every board.  Pop quiz how big would 2 stiles out of an 8' board be?  If you guessed 4' you'd be wrong.  1/8" will be sitting in sawdust on your floor from the blade.  Our stiles will be 3.75' each.  

The way we approached this was to set up a jig by clamping the table saw to a firm workbench and clamping a pile of wood to the work bench.  The pile of wood created a fixed stop point to hold the wood against.  This ensured each stile was exactly the same length.  I think it took us longer to set up the jig than to actually cut the wood but this is a crucial step.  


Next we had to figure out the box spacing.  We laid out the pieces so that no stiles covered outlets.  It is nearly impossible to get all the boxes exactly the same on each of the walls.  One wall will have 15" boxes  and one wall will have 19" boxes.  Once it is all painted white it will be close enough.  We worked one wall at a time, dry fitting the rails and stiles.  Once we were happy with the placement we drew a line from the center of the stile straight up onto the rail.  This gave us our center point from which to route the biscuit hole. 


The next step, had I been doing this project alone probably would have skipped and it would have been a huge mistake.  Because my turd polishing, engineer husband was on the job we had to do things the right way.  I tend to do things 90% and 90% in wainscoting is not good enough.  This meant we had biscuit every spot where the rails and stiles met.  What is a biscuit?  I'm glad you asked.  A biscuit is a wooden disk glued into the grooves of two pieces of wood for a tight joint.


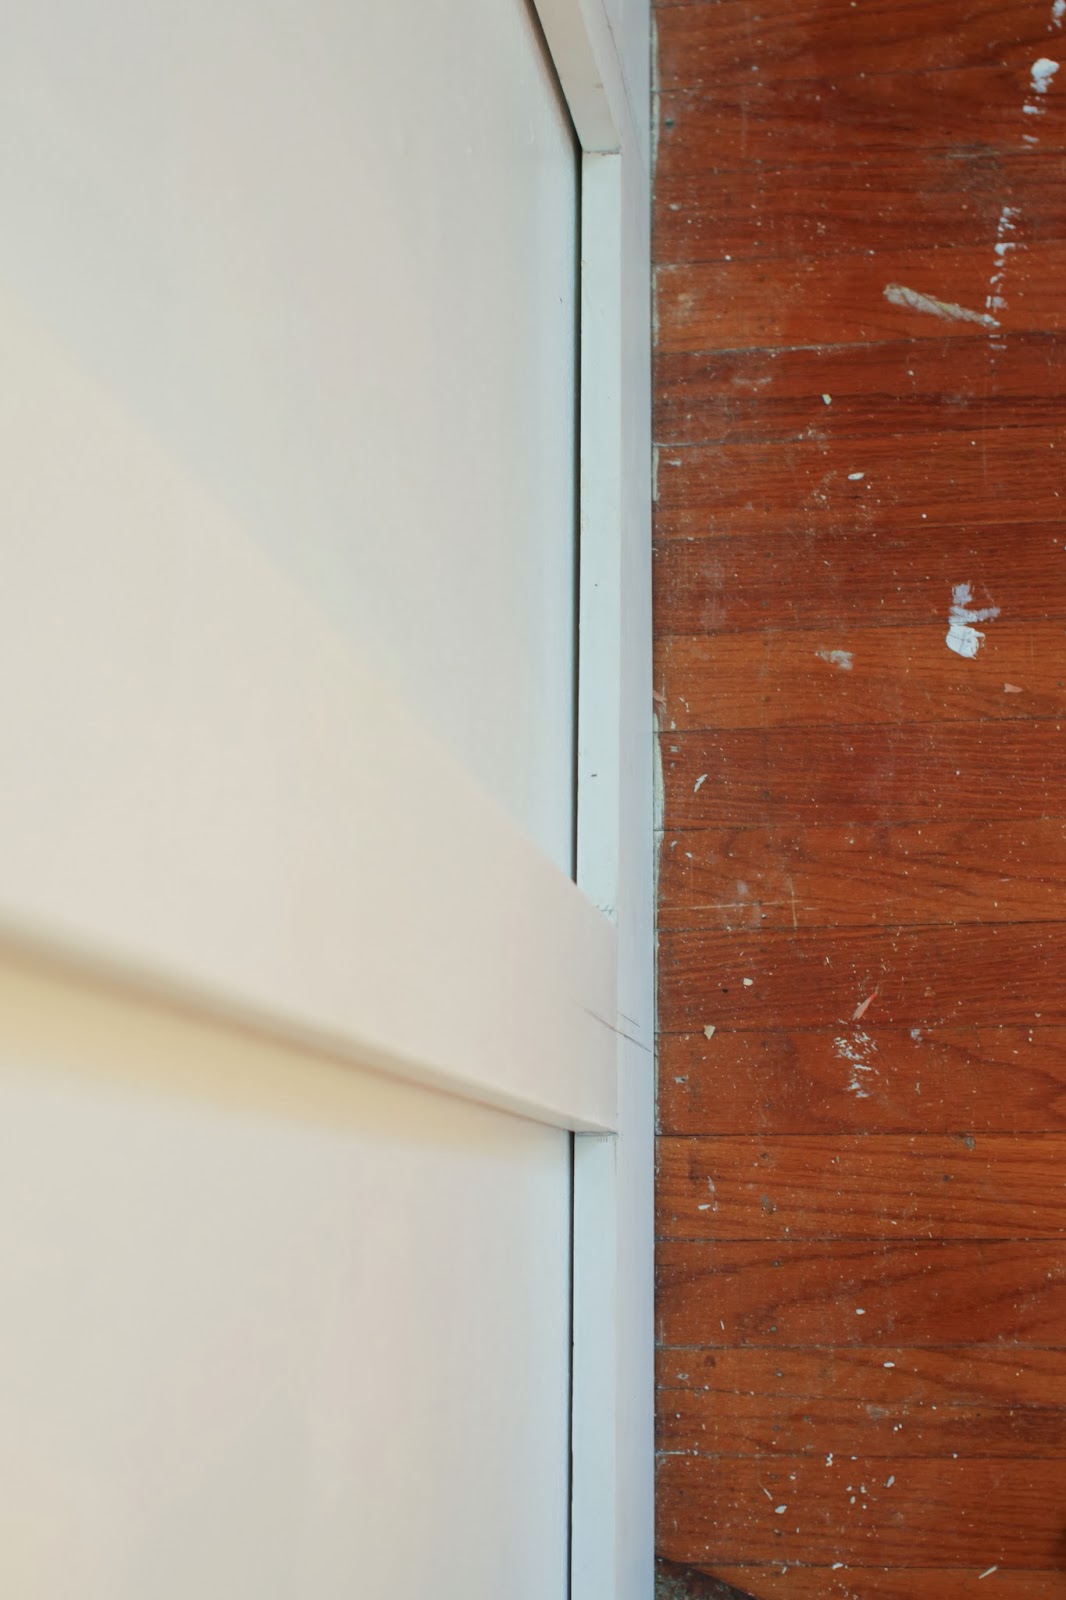
This also ensures the separate pieces will stay in the same plane.  It not only makes the install easier but also secures the wood for a tight connection long term even as the wood expands and contracts.  Unless your walls are absolutely perfect, getting all the wood to sit in the same plane is really difficult.  The shadows below shows you all the high and low points in the wall and yet that bottom connection is perfectly in line, held in place by the biscuit.


This shot doesn't look like we accomplished much but this was 2 hours worth of work.


Then we dry fit it again, this time with biscuits in place (not yet glued) so we could take measurements from the adjoining wall.  We'll attach it all with finish nails and liquid nails once everything has been cut.  For now here's how we're looking:


One wall down, 3 to go!

Monday, February 17, 2014

Windows and Doors

The window and door trim was just a standard trim that is throughout the house.  I'm usually a fan of keeping it all consistent but the stiles for the wainscoting is slightly thicker than the window and door trim which would have created created mismatched seams.

We considered basic flat paneled trim but ultimately decided it was too craftsman for our colonial home.  Instead we went with this:


It is thicker than the wainscoting so the transition from trim to wainscoting would make sense.

First I had to remove the old trim, then score seam to separate the trim from the jamb, held together by a dozen layers of paint and caulk.  This ensured I didn't damage the drywall or the jamb, neither of which I was interested in replacing.  Finally, starting at the bottom, I slowly pulled the trim out of the wall with a pry bar.


Ready for new trim!


Next up, wainscoting!

Friday, February 14, 2014

Valentine's Day

For our anniversary I got MDF.

For Valentine's Day I got 27 pre-primed pine boards.
  

#hegetsme

Thursday, February 13, 2014

Crown

We have power!  In related news I think I just set a world record in number of loads of laundry in one day.  A potty training 2 year old and a 4 day black out is a combination nightmares are made of.  After the laundry I moved on to the crown molding (that's normal right?).  We may not have milk but we have crown.

First off I decided to fork over the $30 to buy the Kreg Crown Pro tool.  
Worth every penny.  It took a few google searches to figure out how to use it but once we did it made the project way simpler.  The most confusing part for us was the definition of "left corner" and "right corner."  No more trying to figure out which way to hold the molding, what angle to cut the molding, which way to place the saw for inside and outside corners, etc.  This little tool measures your molding and your corners and shows you how to set your saw and hold the molding at the correct angle.  No more coping.  It made what has been a miserable 8-10 hour project for us in the past to a 3 hour project with much better results.  I nominate the peeps at Kreg for the Nobel Peace Prize for happy marriages.  

I started with the built-ins since those would be 'built out' the most and the other walls would need to sit upon that base.  The shelves that were there had no molding.  To beef it up we flipped a baseboard upside down and nailed that to the exiting header.  


We nailed spacer blocks of wood between the baseboard and the ceiling to ensure consistency.


Then we nailed the crown on top of the upside-down baseboard.


Some before & after's:


The best part was that zero F-bombs were dropped in the installation of this trim.

Wednesday, February 12, 2014

Powerless

We lost power after an ice storm last Tuesday.  It finally came back Saturday night.  I learned that I am very spoiled and extremely lucky for the modern amenities I've always taken for granted.  Before we got a generator we spent an extremely cold, dark night at home while it was 18 degrees outside.  Thankfully I could layer my  kids up with hats and blankets but for many this is a constant reality with no solution.  I'm so blessed it was temporary.

On a much less serious note we obviously couldn't use our power tools (apparently the fridge and heat are above the miter saw on the generator power priority list for most people) so instead I painted the room.  This is not the order to do things.  I normally paint the wall panel of the wainscotting first, then install the wainscotting, then paint the upper wall and final coats of the wainscotting last.  I went out of order because I didn't want to waste a weekend.

I chose Benjamin Moore's Hale Navy for the top and Benjamin Moore's Simply White for the bottom.  The white looks like a true white (no real gray or yellow undertones).  I like the sharp contrast.  
 
I spent about 45 seconds choosing the color and decided to be super crazy and not get a test pot but love love love the color.  Way darker than I'd normally go but it is the brightest room in the house and 2/3 of the room is painted white so it can get away with it.    


Ignore the fact that I didn't cut in.  Crown will be going up.


It'll need a 2nd coat but I was impressed with the 1st coat coverage.  Love that Benjamin Moore.


You can get a general idea of how high the wainscoting will be.


Green tape marks the studs because pencil marks would be been too faint.


So now I wait for heat and power for the miter saw.

Monday, February 10, 2014

Baseboard Heater

This is so not a big deal to anyone...except me.  I did this almost all by myself.

The baseboard heater was in really rough shape.  Dingy.  Missing an end cap.  The damper fell off periodically.  The cover sagged leaving the heating coil a little exposed.


Definitely ugly...but more important...I found this.  The bedskirt that was next to the heater.  It looks like the exposed coil burnt it. It made me sick to my stomach.  The cover had to be replaced ASAP.


First I measured from one end of the copper to the other.  15' 4."  Covers come in 3' to 8' sections so I rounded down (b/c the end caps would cover the difference) and bought an 8' section, a 7' section and a splice to join them.  The end caps will each give you 2-3" of play.  The splice will give you 1-2."  That got me to my 15' 4" perfectly.

Getting the old cover off was the toughest part.  

1. Remove front cover (and damper if you can..we couldn't remove ours but would have made access to the back panel easier).
2. Use reciprocating saw to cut the nails that holds the back plate to wall.
3. Prop up heating element and pry the hangers of the back plate (flat head helps).
4. Pull the back plate out from behind the heating element, and discard.
5. Vacuum the heating element.  Decades of dust back there.  I found grocery lists that had to be 40 years old.
6. Slide the new hangers behind heating element.
7. Slip the new back plate behind the heating element.  This takes some wiggling.
8. Snap hangers into the back plate (there is a lip at the top and bottom).
9. Screw the back plate to wall studs using drywall screws.  Easier to pre-drill a hole first.
10. Slide on the end caps and, if you're connecting two or more units together, attach the splice plates.  Ours didn't come with a splice plate for the back wall unit so we used a spare metal plate and drilled that to the wall.  I'm not sure if that is required or not but seemed odd to leave the heating coil exposed to the drywall.  Also a 2nd splice kit could be used (they're cheap).
11. Snap the front cover onto the hangers.  
12.  Jump up and down and pat yourself on the back.


Those step by step instructions make it seem like it is way easier than it actually is so if you're struggling you're probably not doing anything wrong.  Getting that cover off while not damaging the copper pipe and heating coil involves a lot of cutting and cursing.

Here it is!


Now we have a new, clean baseboard to install the wainscoting against.  Looks good and better yet,  safe!

Thursday, February 6, 2014

Ice Storm

So it turns out Mother Nature didn't take too well to my name calling earlier in the week in reference to our frozen pipes.  In retaliation she tossed us an ice and lightening storm which killed our electricity, heat and hot water.  We have an estimated fix date of Sunday (6 days after the storm hit).  Brrrr baby.

That puts a damper on woodworking project in Brady's room.  No power = no power tools.  So now I wait...

Wednesday, February 5, 2014

Frozen

Pipes, not the Disney movie.

I was all ready to dive into the woodworking part of Brady's room when we were forced off course.  

Mother Nature has handed us a colder than normal winter in Philadelphia.  Bitch.  We came home one night to find the pipes to our master bathroom were frozen.  Ruh roh raggy.  Thankfully it doesn't appear that they burst.  We ended up spending the weekend insulating our crawl space.

I got a crash course in what to do when your pipes freeze:

  • Keep garage doors closed if there are water supply lines in the garage.  Sounds obvious but when it is cold ice can build up on your garage door sensor so be careful you door shuts all the way.
  • Open kitchen and bathroom cabinet doors to allow warmer air to circulate around the plumbing.
  • When the weather is very, let the cold water drip from the faucet served by exposed pipes.  Running water through the pipe - even at a trickle - helps prevent pipes from freezing.
  • Don't let your thermostat dip below 55 degrees (overnight or when you're out of town)
So all that is great...if your pipes aren't already frozen.  If they are, here are some things you can try:
  • Keep the faucets open while you thaw.  As you treat the frozen pipe and the water begins to melt it will need somewhere to go.  
  • Apply heat to the frozen pipe using a heating pad, a hair dryer, a space heater (away from flammable materials and do not leave unattended) or by wrapping pipes with hot water soaked towels.
  • Apply heat until pressure is restored.
Always know where your water supply shut off is.  A burst pipe can cause so much damage so quickly.  My husband was out of town last week and thankfully he showed me how to do it before he left which was very helpful when our pipes froze while he was gone.  Isn't that when it would happen?