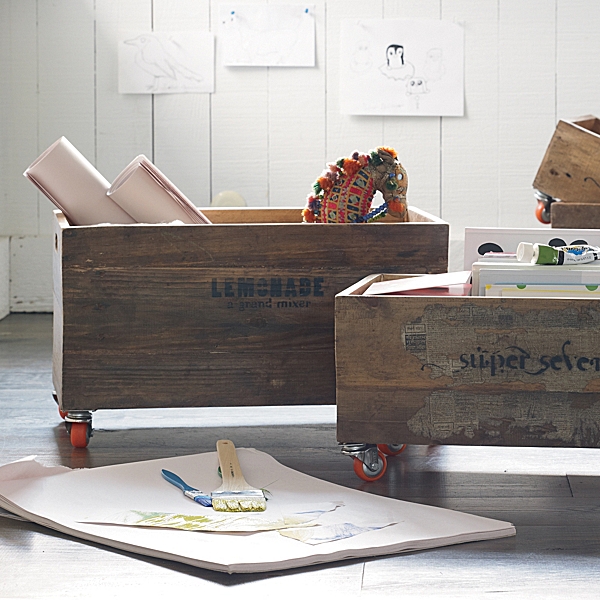
Remember how I said I was turning into my mom? Well a few days after that crate caught my eye I went to visit my parents where my mom had already gathered all the supplies to build our own (with an upholstered lid upgrade). Spooky.
Here is our version turned out:
Supplies:
- Crates
- Foam
- Batting
- Fabric
- Casters
- Staple Gun
- Plywood
- Poly (optional if you want to seal the sides, depending on the crate’s condition)
- A really good sport dad willing to do a lot of the legwork for you
My parents saved these vintage crates from my great grandparent’s apple orchard so this part was free:
My dad did the boring work for us by attaching a piece of plywood to the bottom of each crate to stabilize as well as 4 casters onto each of our crates. We were on a roll (pun intended). I sanded the crates to knock off any splinters and then spray poly’ed the crates to smooth/seal the wood. The best part of our crates were the vintage labels so in order to protect them I coated them with a few coats of Mod Podge. Then our bases were ready.
We upgraded our version of the rolling storage by adding an upholstered top. Lowes precut all the plywood into the sizes we needed and covered in foam, batting, fabric and stapled. No real science there, just make it look neat.
Easy peasy apple squeezy!


Looks great! Those vintage crates are so cool. I recently made a rolling storage crate as well inspired by the Serena & Lily version:
ReplyDeletehttp://www.2sisters2cities.com/2012/10/rolling-storage-crate/#
The upholstered top is very creative. Did you say the crates all came from your great grandparents’ apple orchard? Wow, that’s vintage! And it looks like they’re all in excellent condition too. They must have been made from high quality packaging materials.
ReplyDeletePearlie Mcilvaine