Sunday, May 20, 2012

Rolling Storage Crates

I recently discovered Serena and Lily.  Really cool, unique stuff.  One of the items that caught my eye was this rolling toy storage crate:

Remember how I said I was turning into my mom?  Well a few days after that crate caught my eye I went to visit my parents where my mom had already gathered all the supplies to build our own (with an upholstered lid upgrade).  Spooky.
Here is our version turned out:
20120512-IMG_2408text
Supplies:
  • Crates
  • Foam
  • Batting
  • Fabric
  • Casters
  • Staple Gun
  • Plywood
  • Poly (optional if you want to seal the sides, depending on the crate’s condition)
  • A really good sport dad willing to do a lot of the legwork for you
My parents saved these vintage crates from my great grandparent’s apple orchard so this part was free: 
                                                                                                   20120512-IMG_2337             20120512-IMG_2335
My dad did the boring work for us by attaching a piece of plywood to the bottom of each crate to stabilize as well as 4 casters onto each of our crates.  We were on a roll (pun intended).  I sanded the crates to knock off any splinters and then spray poly’ed the crates to smooth/seal the wood.  The best part of our crates were the vintage labels so in order to protect them I coated them with a few coats of Mod Podge.  Then our bases were ready.
                                                                                                      20120512-IMG_2339             20120512-IMG_2364
We upgraded our version of the rolling storage by adding an upholstered top.  Lowes precut all the plywood into the sizes we needed and covered in foam, batting, fabric and stapled.  No real science there, just make it look neat. 
20120512-IMG_2363 20120512-IMG_2368 20120512-IMG_2370
Easy peasy apple squeezy!
                                                                                                                              20120512-IMG_2403         20120512-IMG_2392

Monday, May 14, 2012

Bringing the deck out of hibernation

Before we bought the house we told our real estate agent that we wanted a place we could gut (and in the words of Randy Jackson) ‘make it our own dog.’  That is exactly what we got.  Someone was looking out for us by giving us a gut job with a great deck which meant that we’d have a refuge from the dust/mess/disaster zone inside.


The prior homeowners built a large deck with composite decking.  The fact that we don’t have to worry about splinters on our bare feet really makes it feel like another room.   The only maintenance we have is an annual power wash.  Another cool feature is a pergola.  The downside of said pergola is that it is painted wood which means it has to be repainted from time to time because it builds up with dirt, mold and smoke stains from the grill.  That time was May 2012.
                      20120506-IMG_2270                  20120506-IMG_2271
The key to exterior painting is to find a day when 1) It isn’t snowing 2) the leaves won’t be falling on wet paint 3) it isn’t too hot 4) it isn’t too cold 5) your kids don’t have t-ball/choir/preschool/birthday parties 6) it isn’t sunny and 7) it won’t rain for 2 consecutive days.  That basically left us with last weekend.

I prepped the wood by first power washing it.  Power washing something above your head means you’ll be soaked and have dirt coming back down into your eyes.  It is a really good time.  I let it dry overnight and then prepped the space by laying lots of plastic.  Using a roller and a brush we applied exterior semi-gloss exterior white paint to the wood.

Now I’m going to use a technical painting term to describe what the process was like.  It sucked.  Bad.  By around 6 PM when we were still at it my husband fed me hot dogs while I stood on scaffolding that is older than I am by a lot.  That is true romance in our house. 
But alas, it is done and hopefully means I won’t have to do it for a long time!

20120513-IMG_2514
20120510-IMG_2277

Monday, May 7, 2012

Word To Your Mutha

My mom loves 3 things: clichés, bacon and decorating. My husband jokes that the useful life of furnishings in her house is about 6 months before she’ll redecorate. Warning Sean: the apple doesn’t fall far from the tree. Damn I was hoping it was just constant redecorating gene she gave me but it looks like the “clichés” thing snuck in there too.  Short attention spans can get expensive so I like to fill the walls on the cheap. Thank you IKEA for inexpensive frames. Now to fill them…

I love photography so a few bucks for prints of my kids usually does the trick but right now I’m looking for some different. Enter Pinterest. People pin some hilarious, sometimes inspirational and sometimes weird quotes there.

Some favorites of mine are:

                  clip_image002 clip_image004 clip_image006 clip_image008

With a basic word processing program and about 15 minutes I figured I could do some typography art myself. You can either use the fonts available in your word processing program or go wild and crazy and download some free ones online (like dafont.com). If you decide to download a new font online: save the file to your computer. Open the zip file, drag and drop the .tff file to your desktop (or really to any location) and then drag it again to your font folder (c: windows: font). I don’t know why you have to drag the file to purgatory first but for some reason you do.

After doing one for my mom I…just…couldn’t…stop…so I did a few more for my house. Sean are you seeing the resemblance yet???

For my bacon / cliché loving / designer extraordinaire mom for mother’s day:

clip_image010

A set for the boys’ bathroom:

                      image          image
                      image           image

I love the lyrics to Queen’s, Crazy Little Thing Called Love. I had the lyrics running along the bottom of our wedding ceremony program so I thought it may be a nice reminder to put up on our wall.
clip_image012

…and one just because, in the words of Queen, I kinda like it:

image

Super easy.

Mom – don’t worry I won’t be offended if you want to swap it out in 6 months.  I’ll probably want to if you haven’t.

UPDATE: My mom wanted me to clarify that she loves more than 3 things...like me of course :)

Tuesday, May 1, 2012

Master Bathroom Revealed!

This was the renovation we were going to do 10-15 years after we moved in. When the kids were older we said. We already had a functional master suite which was original to the house (circa 1968 but functional) so why rush it? We'd live in the space and get a feel for what we wanted and do it right. Uh huh.


Fast forward 3 years and 3 babies later to last summer.  Somehow we managed to fill the bedrooms original to the house which meant that we had to renovate the addition the prior home owners built to become our room. The addition had two bedrooms, an avocado colored laminate bathroom, a small closet/crawlspace and a small, dark hallway connecting these spaces.


After 3 years of nothing but renovations and babies (in no particular order) my husband promised me we wouldn't DIY this one (well not all of it anyway). Sean throwing his back out lifting the new window for the room sealed the deal.  I worked on the design and purchased the materials over the course of 6 months as things went on sale to save money.


I'm an accountant by day so here is a breakdown of the project in terms of numbers:

3: The number of general contractors we interviewed and put the job out to bid to.
0: The number of general contractors we actually hired. We decided to play general contractor ourselves and sub out to trades on our own. You're not surprised right? We're cheap.
1: The number of general contractors who were very chauvinistic.
3,200: The number of BTU's I responded with when said chauvinistic contractor condescendingly told me "...you think you know what you're doing but you don't even know what you don't know. For example you don't know how many BTU's you'll need for the new floor plan." He was surprised/annoyed that I knew that answer. Hey buddy women can vote now too.
6: The number of subcontractors we hired. Framing (loved), plumbing (not so much), drywall (worth every penny), tile (artists!), quartz (awesome) and glass (not so much)
15: The number of years we were planning on waiting to do this renovation after we bought the house.
3.25: The number of years we actually waited.
9: The number of months it took us from start to finish.
40: The percentage savings of subcontracting ourselves versus using a general contractor.

Now, the before and after's.

View from the hallway into the bathroom. Before...
…and after!
CarreraBathroomAfter

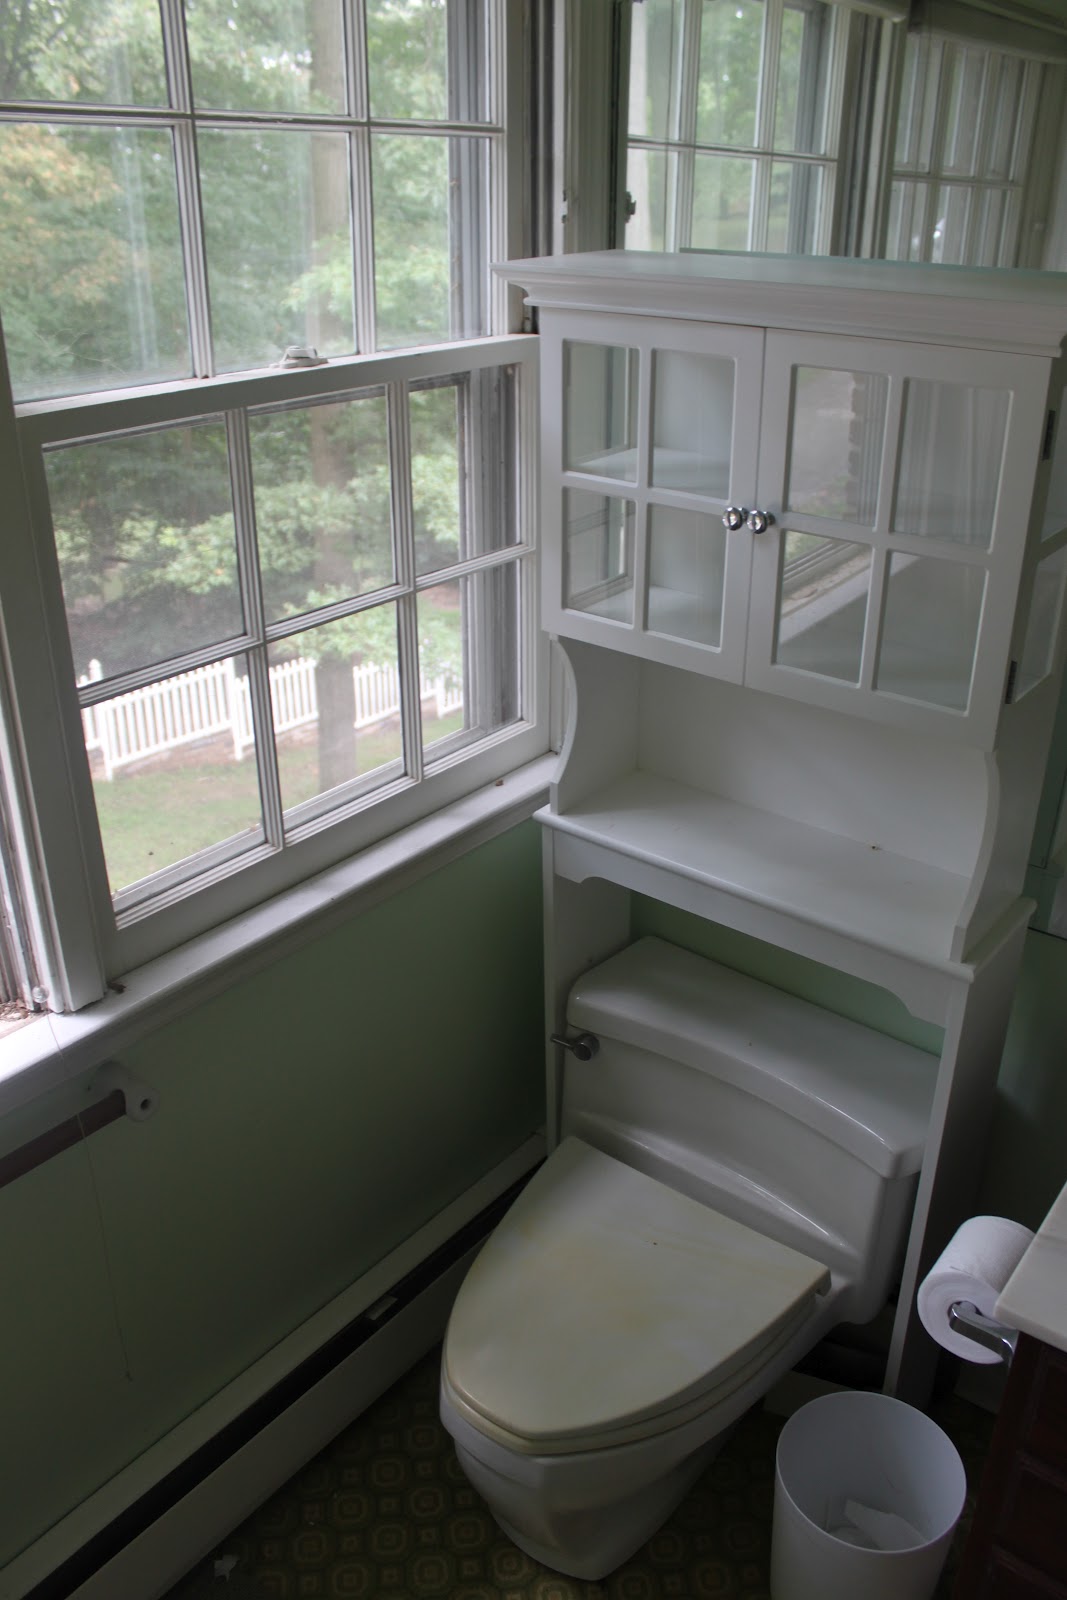
View of the toilet and moldy window.
The new toilet is named Memoirs by Kohler. Seriously. I wonder if you need any special training or degree to name toilets?  The painting is one my dad did for my boyfriend 10 years ago of the BF as a baby with his father (don’t worry he’s my husband now…otherwise that would be weird).
20120429-IMG_1978
View from the window wall to the door. You can see just how small this room was. Single sink vanity to the left, plastic shower to the right. I have no idea why there is a Giants cooler in the bathroom. We're Eagles fans. Oh wait, maybe that's why it was in the bathroom.
…and after.
20120429-IMG_1993
Vanity before
20110807-IMG_8095-2
Vanity After.
20120429-IMG_1980
View from the toilet to the shower. The linen closet to the right was removed. Just one of the seven doors removed in this renovation.
We knew we definitely wanted a Carrera marble scheme but thought a marble or granite slab for the tub deck and vanity top would have been too much.  Then I thought, WWCOD (What Would Candice Olson Do?).  Definitely white quartz.

WhiteQuartzCarraraMarble
GlassCarreraQuartzShower

The floor before. No words here.
The floor after:
20120318-IMG_1256

Tile: We chose a Carrera marble scheme from Avalon tile and our installers were truly artists. I may regret the marble but go big or go home right? We went with honed instead of polished marble because honed is supposed to be more forgiving. Marble takes maintenance and stains/scratches easily so I figured honed would hide the inevitable marks. I’m really glad I did. If you live in a house full of men like I do then you know their “aim” isn’t always perfect.

20120429-IMG_2007  20120429-IMG_2012   


CarreraMarble2   20120429-IMG_2009    


20120429-IMG_199520120429-IMG_202120120429-IMG_1996


Sean promises me we'll take a break now.

I don't believe him :)
__________________________________________________________
Materials/Sources:
Tile – Avalon
Tub & Toilet – Kohler
Paint – Behr premium Pensive Sky
Medicine Cabinets & Sconces – Pottery Barn
White Quartz – Stone Masters http://stonemastersinc.net/ LOVED them. Extremely knowledgeable, responsive and professional from beginning to end.

Shared with: Savvy Southern Style Oopsey Daisy Tater Tots and Jello Between Naps On The Porch