I spent a few months plotting my approach. Because this was my first attempt at furniture building I figured the 'reclaimed wood' look would hide the inevitable mistakes (not to mention hide any future damage my 3 young boys would inflict) and wouldn't it provide an interesting story to tell at all of my fabulous dinner parties? Right, like that ever happens.
Thanks to google I found Manayunk Timber, a reclaimed lumber yard in Philadelphia, and chose a pine beam from an 1860's paper mill. Steve, the owner, planed them into the sizes I needed. The beams still had the old bolt holes in them when I picked them up, which, at first made my heart sink. Then I realized they just added to the story so moved ahead with my project.
This is truly a 'before' shot:
 There are two sets of 3 planks about 6-7" wide each (1 set was 5' long and the other set was 7.5' long to form the L-shape). I roughed it up with a hammer and screwdriver and then sanded them down to give everything a smooth finish. The key to a 'worn' look is to make it as random as possible. If you just hit it with a hammer every 6" it'll look like someone hit it with a hammer every 6" and who really wants that look?
I applied one coat of Minwax dark maple on all the planks before we assembled the table because we were afraid that if the planks were to eventually separate a little you would see unfinished wood in the gaps. Then my stud muffin husband and I attached the planks together using both biscuits and 10" metal plates and bolts (sprayed painted with oil rubbed bronze paint). You could probably get away with not using biscuits if you didn't have that tool but because our table was so large we wanted to ensure everything was solid. The legs were $15 each from IKEA that I sprayed in oil rubbed bronze paint. I used 6 because it was such a large table and needed the support. I then applied a 2nd coat of Minwax dark maple and then sealed the whole thing with 3 coats of SafeCoat.
 The toy boxes are really end tables from IKEA and the chair is a knock off wishbone chair from Overstock.com.
 I love the bolt holes. Perfect for my laptop, cell phone and lamp plugs! A very happy accident.
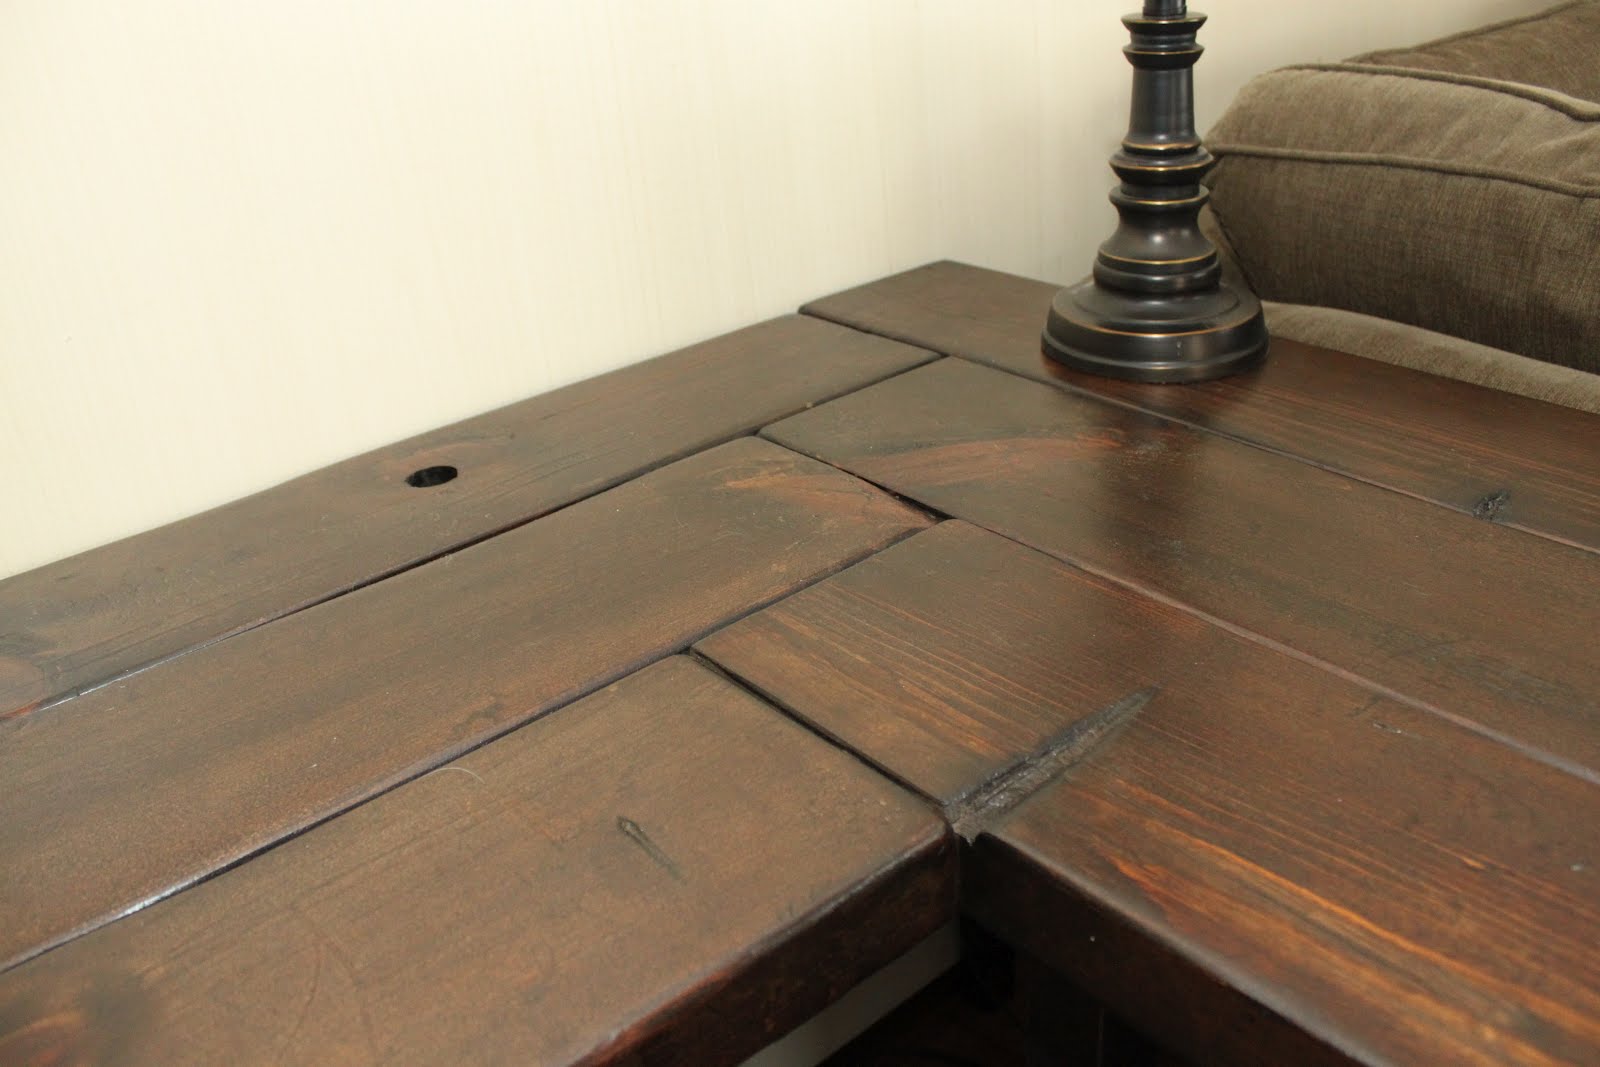
 Bam! A custom made table with a story all for under $400!
Can you imagine if the former workers in the mill that held this beam knew that those holes would eventually be used for cell phone charging????
Shared at: Oopsey Daisy House of Hepworths
This turned out beautiful! I love the placement of it, it is really utilizing the space! Pinning!!
ReplyDeleteWOW!! This is stunning. What a great use of space! Thanks for sharing at oopsey daisy!
ReplyDeleteIf you're looking to inject some character and history into your home, a rustic wood console table crafted from reclaimed materials is a fantastic choice. These pieces aren't just functional; they're conversation starters, each one carrying the unique story of its past life. What truly stands out about a reclaimed wood console table is its inherent charm. The natural imperfections – the knots, the grain variations, the occasional nail hole or weathered mark – all contribute to a depth of texture and visual interest that you simply can't replicate with new timber. This organic beauty makes each table feel truly one-of-a-kind, adding a touch of artisanal craftsmanship to any space.
ReplyDelete